Novasredes
Redes de computadores experimentais
802.11s FC's TrunkServ Reticulum Yggdrasil network
An RNode is any supported device (see the “Device variations” section) that runs Mark Qvist’s firmware.
What does the firmware let you do?
LoRa sniffer
LoRa TNC a. Think of a point-to-point IP link over LoRa b. This will be covered in part 2
LoRa interface for a Retciulum node
You can see all of this in the “One tool, many uses” section here.
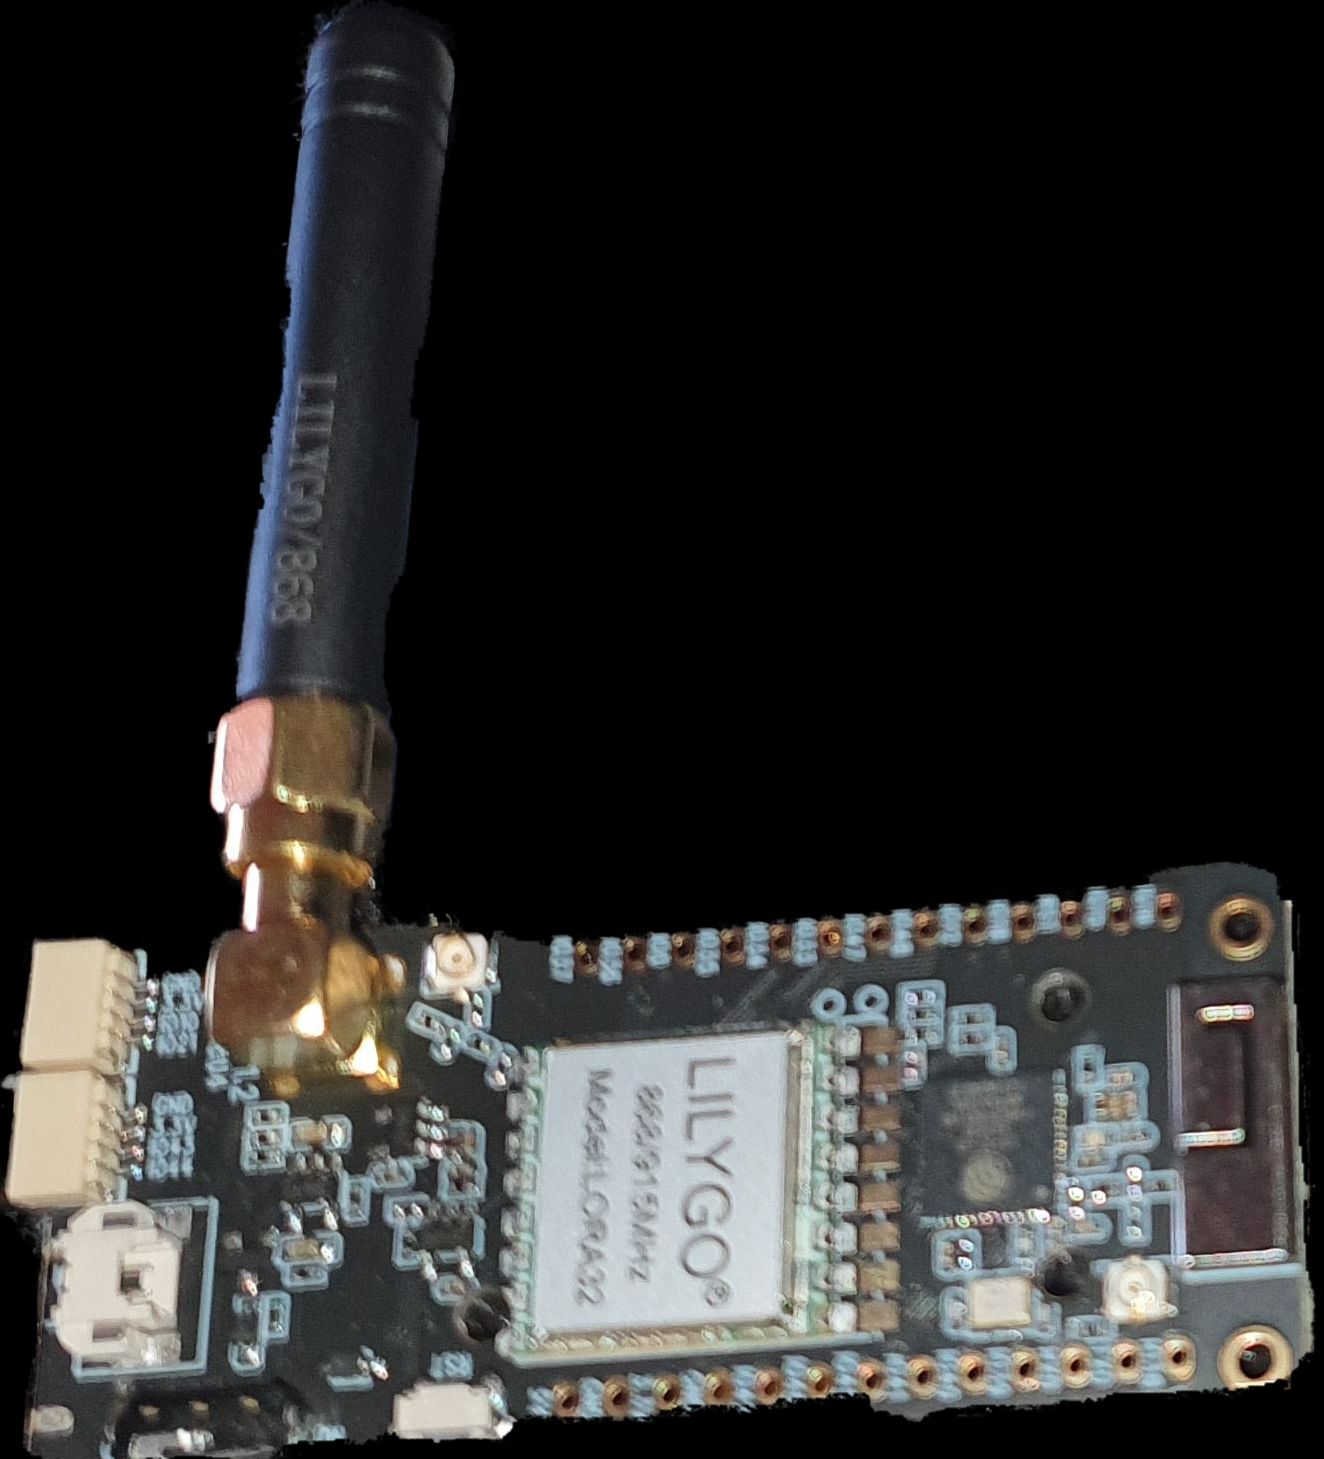
LillyGo T3-S3
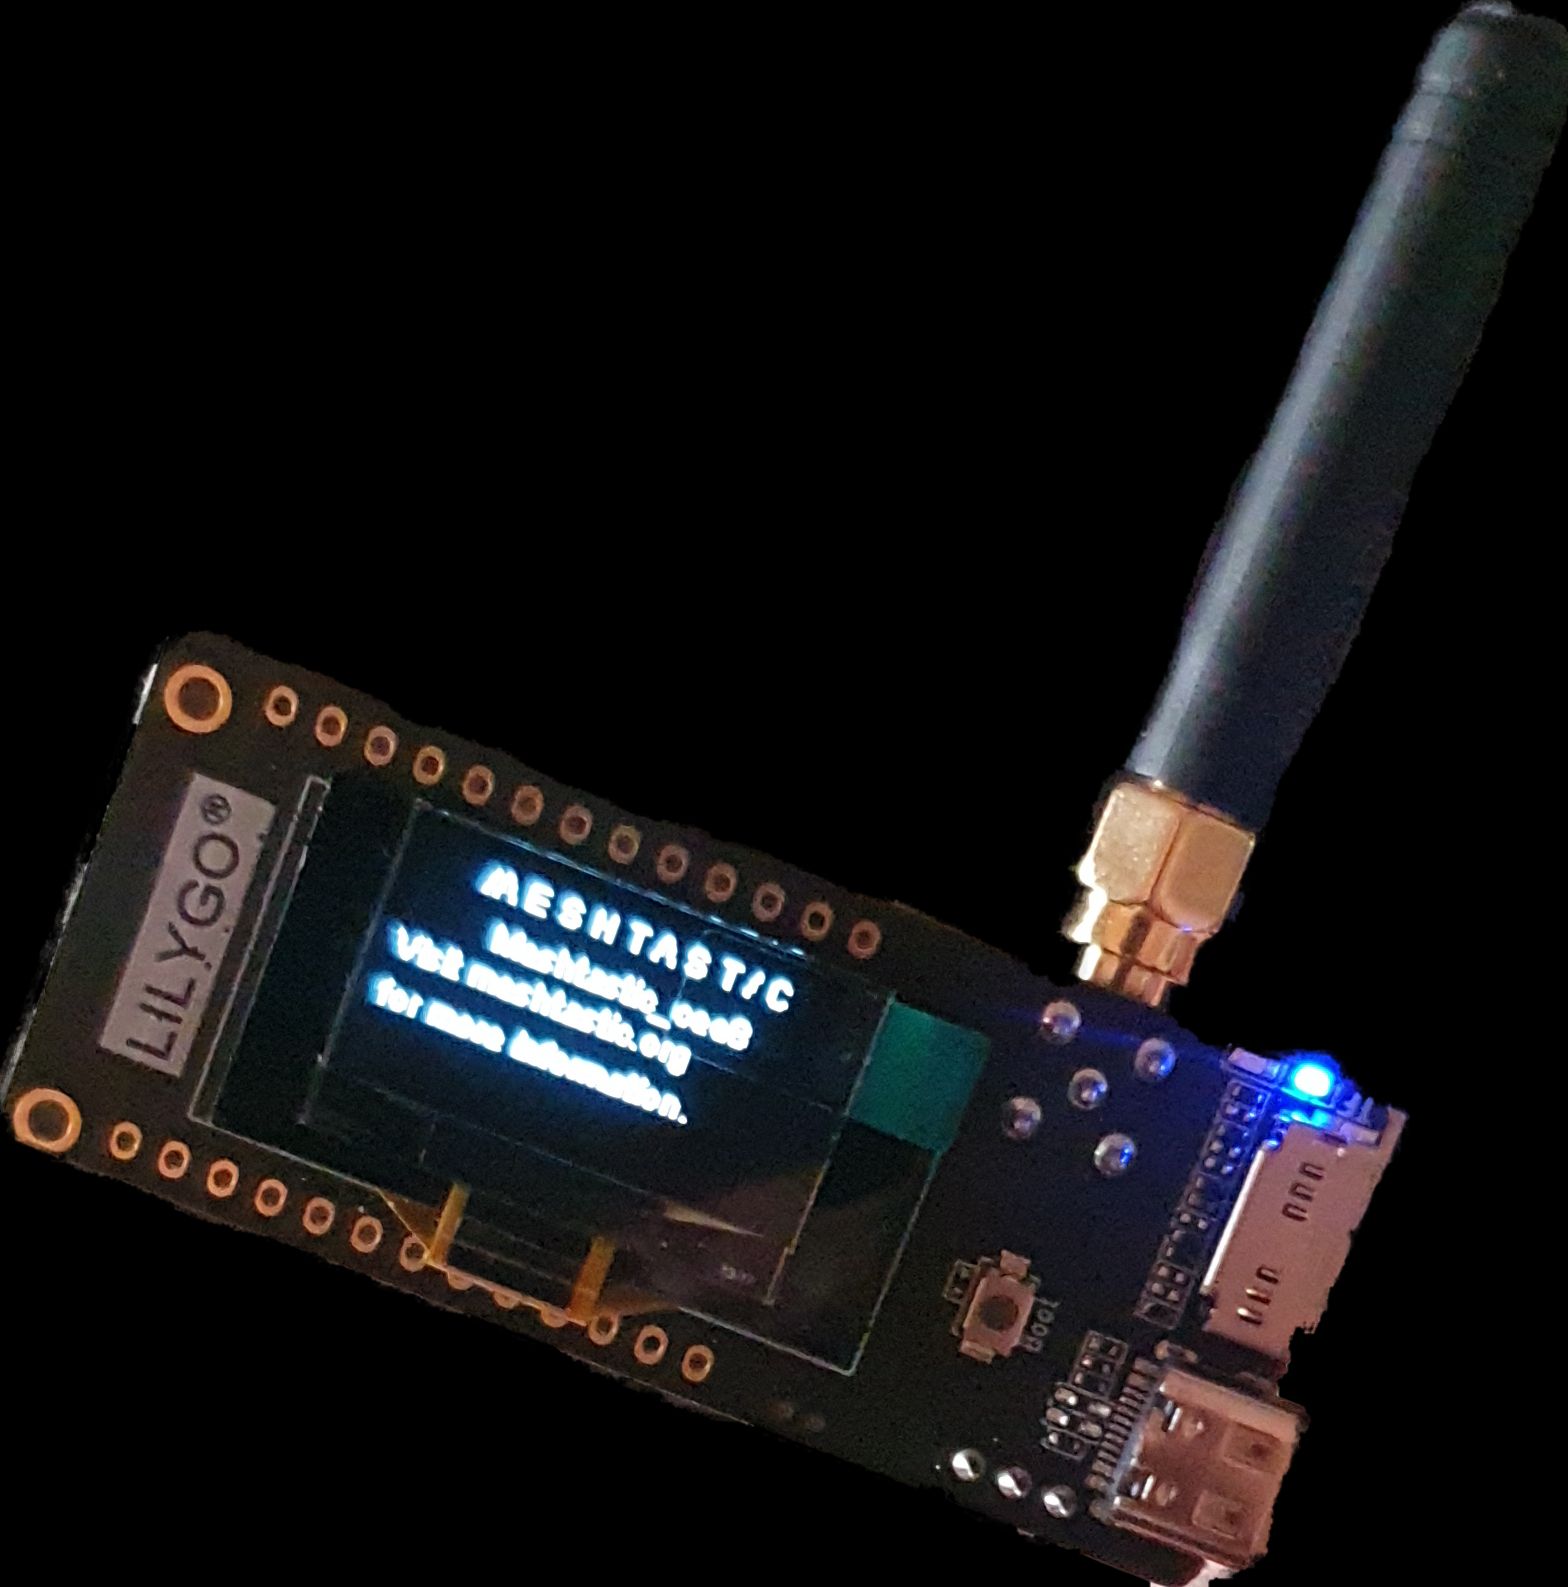
LillyGo T3-S3
I decided to purchase 2 of the LillyGo T3-S3’s which make use of the SX1276 chipset.
I specifically bought 2 because I doubt there is anyone in my area running the RNode firmware and doing Reticulum over it. Secondly, even if there was someone then I wouldn’t have full control over my tests.
This device can be purchased locally here.
I have documented two ways in which one can install the firmware onto your device.
The reason for this was because I initially had some issues using the auto-installation
feature of rnodeconf - it would flash but wouldn’t fully perform all the needed
parameter setting on my device.
Firstly you will need to install the rns package using pip. This package will
make the rnodeconf executable available for you, which will allow us to both
install the firmware and configure our RNode (as multiple modes exist).
Installation can be performed with:
pip3 install rns
When we plug in our device it will appear as some sort of dev/ttcyACMx device
(where $x$ is some number). This device type is a serial device and in order to
get access to all-and-any serial device one must either be a part of the dialout
group or root. The latter is overkill and I would much rather we use an approach
that doesn’t require us running the rnodeconf tool as a user other than our own.
To add yourself to the dialout group run the following command to append (-a)
a new group (the -G) to your current user:
sudo usermod -aG dialout deavmi
In my case my username is deavmi.
The first step is to plug in your device. However, whilst plugging it in via the USB-C port you must be holding the Boot button on the board:
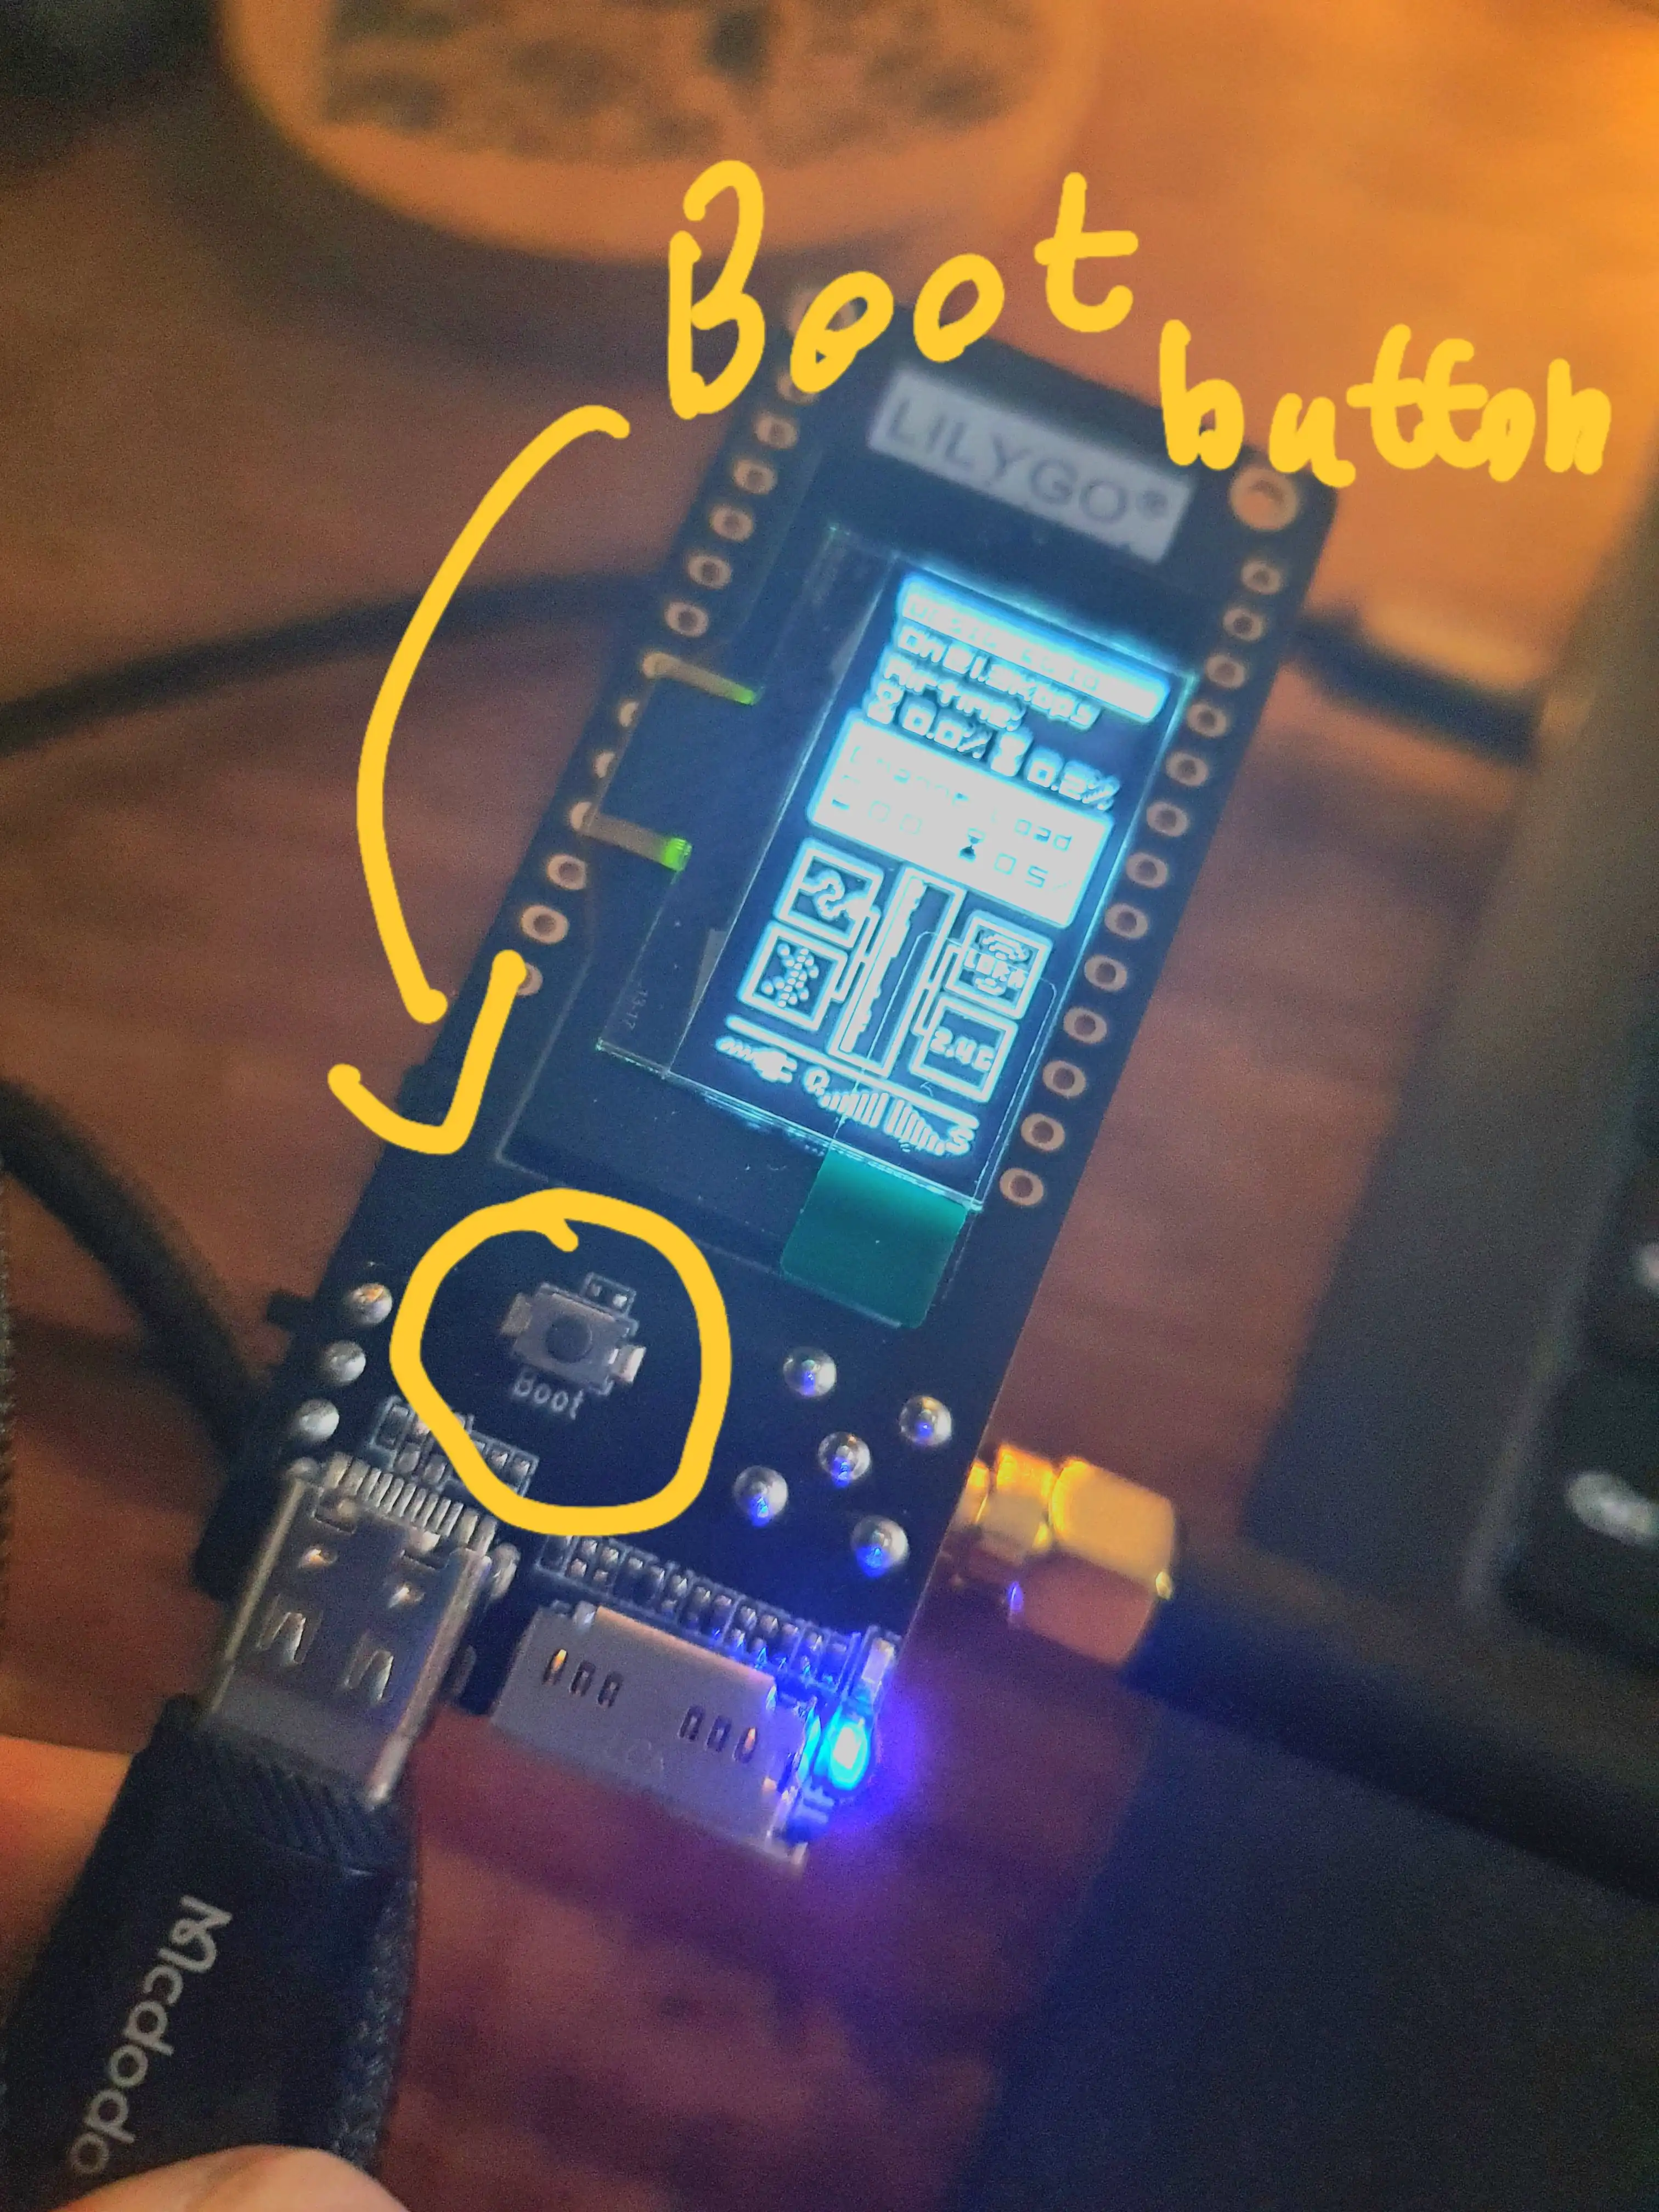
Placement of boot button
Now you will need to run dmesg -w (you might need to run it as root). This is
just so we can see the device path of the serial device we just plugged in:
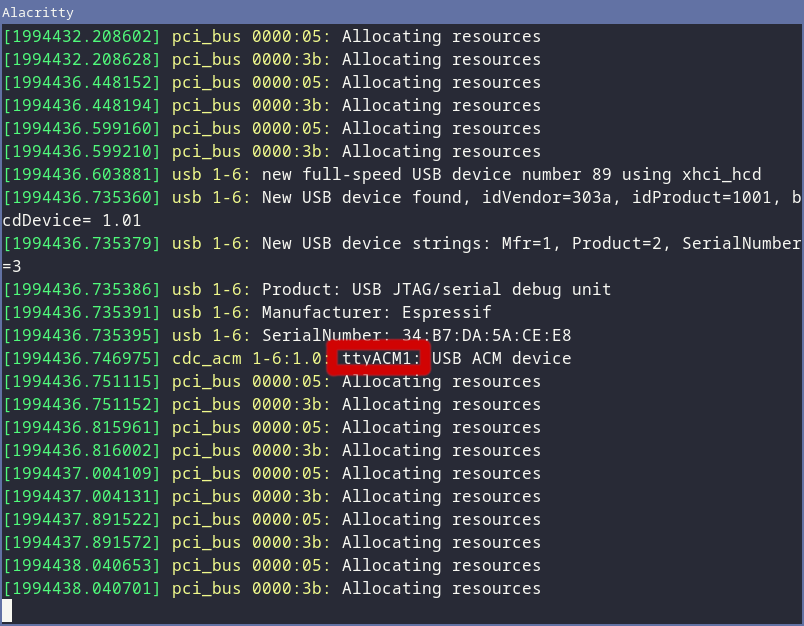
dmesg output
As you can see mine is /dev/ttyACM1
Note: Before we begin, ensure that no other application is using this serial device. I had that happen to me by mistake (as I had rnsd running and pointed to my RNode at the same device path). It will not work if something else is using the serial device at the same time (specifically if it is actively communicating with it whilst rnodeconf is also trying to)
Let’s now begin the installer with the command rnodeconf /dev/ttyACM1 -a. Next
we will be asked a few questions:
[9] LilyGO LoRa T3S3 option.[2] 868/915/923 MHz (with SX1276 chip) a.
Also note that there are normally two options per band,
I went with this option as I am using the SX1276 chipset
as mentioned earlierConfirm detals:
Serial port : /dev/ttyACM1
Device type : RNode 820 - 960 MHz
Platform : ESP32
Device MCU : Espressif Systems ESP32
Firmware file : rnode_firmware_t3s3_sx127x.zip
Note: The tool only seems to support downloading
with AF_INET (meaning that IPv6 support doesn’t work)
Now hit enter. Please note that, at least for now, the installation is not complete when it finishes and it won’t reboot the device automatically for you. Once you get the message that the installer failed to do so, then you can power cycle your device.
Because there is a slight bug in the installer we now need to perform the following.
Firstly, when you boot the device you will get a nasty warning that the “hardware failure”:
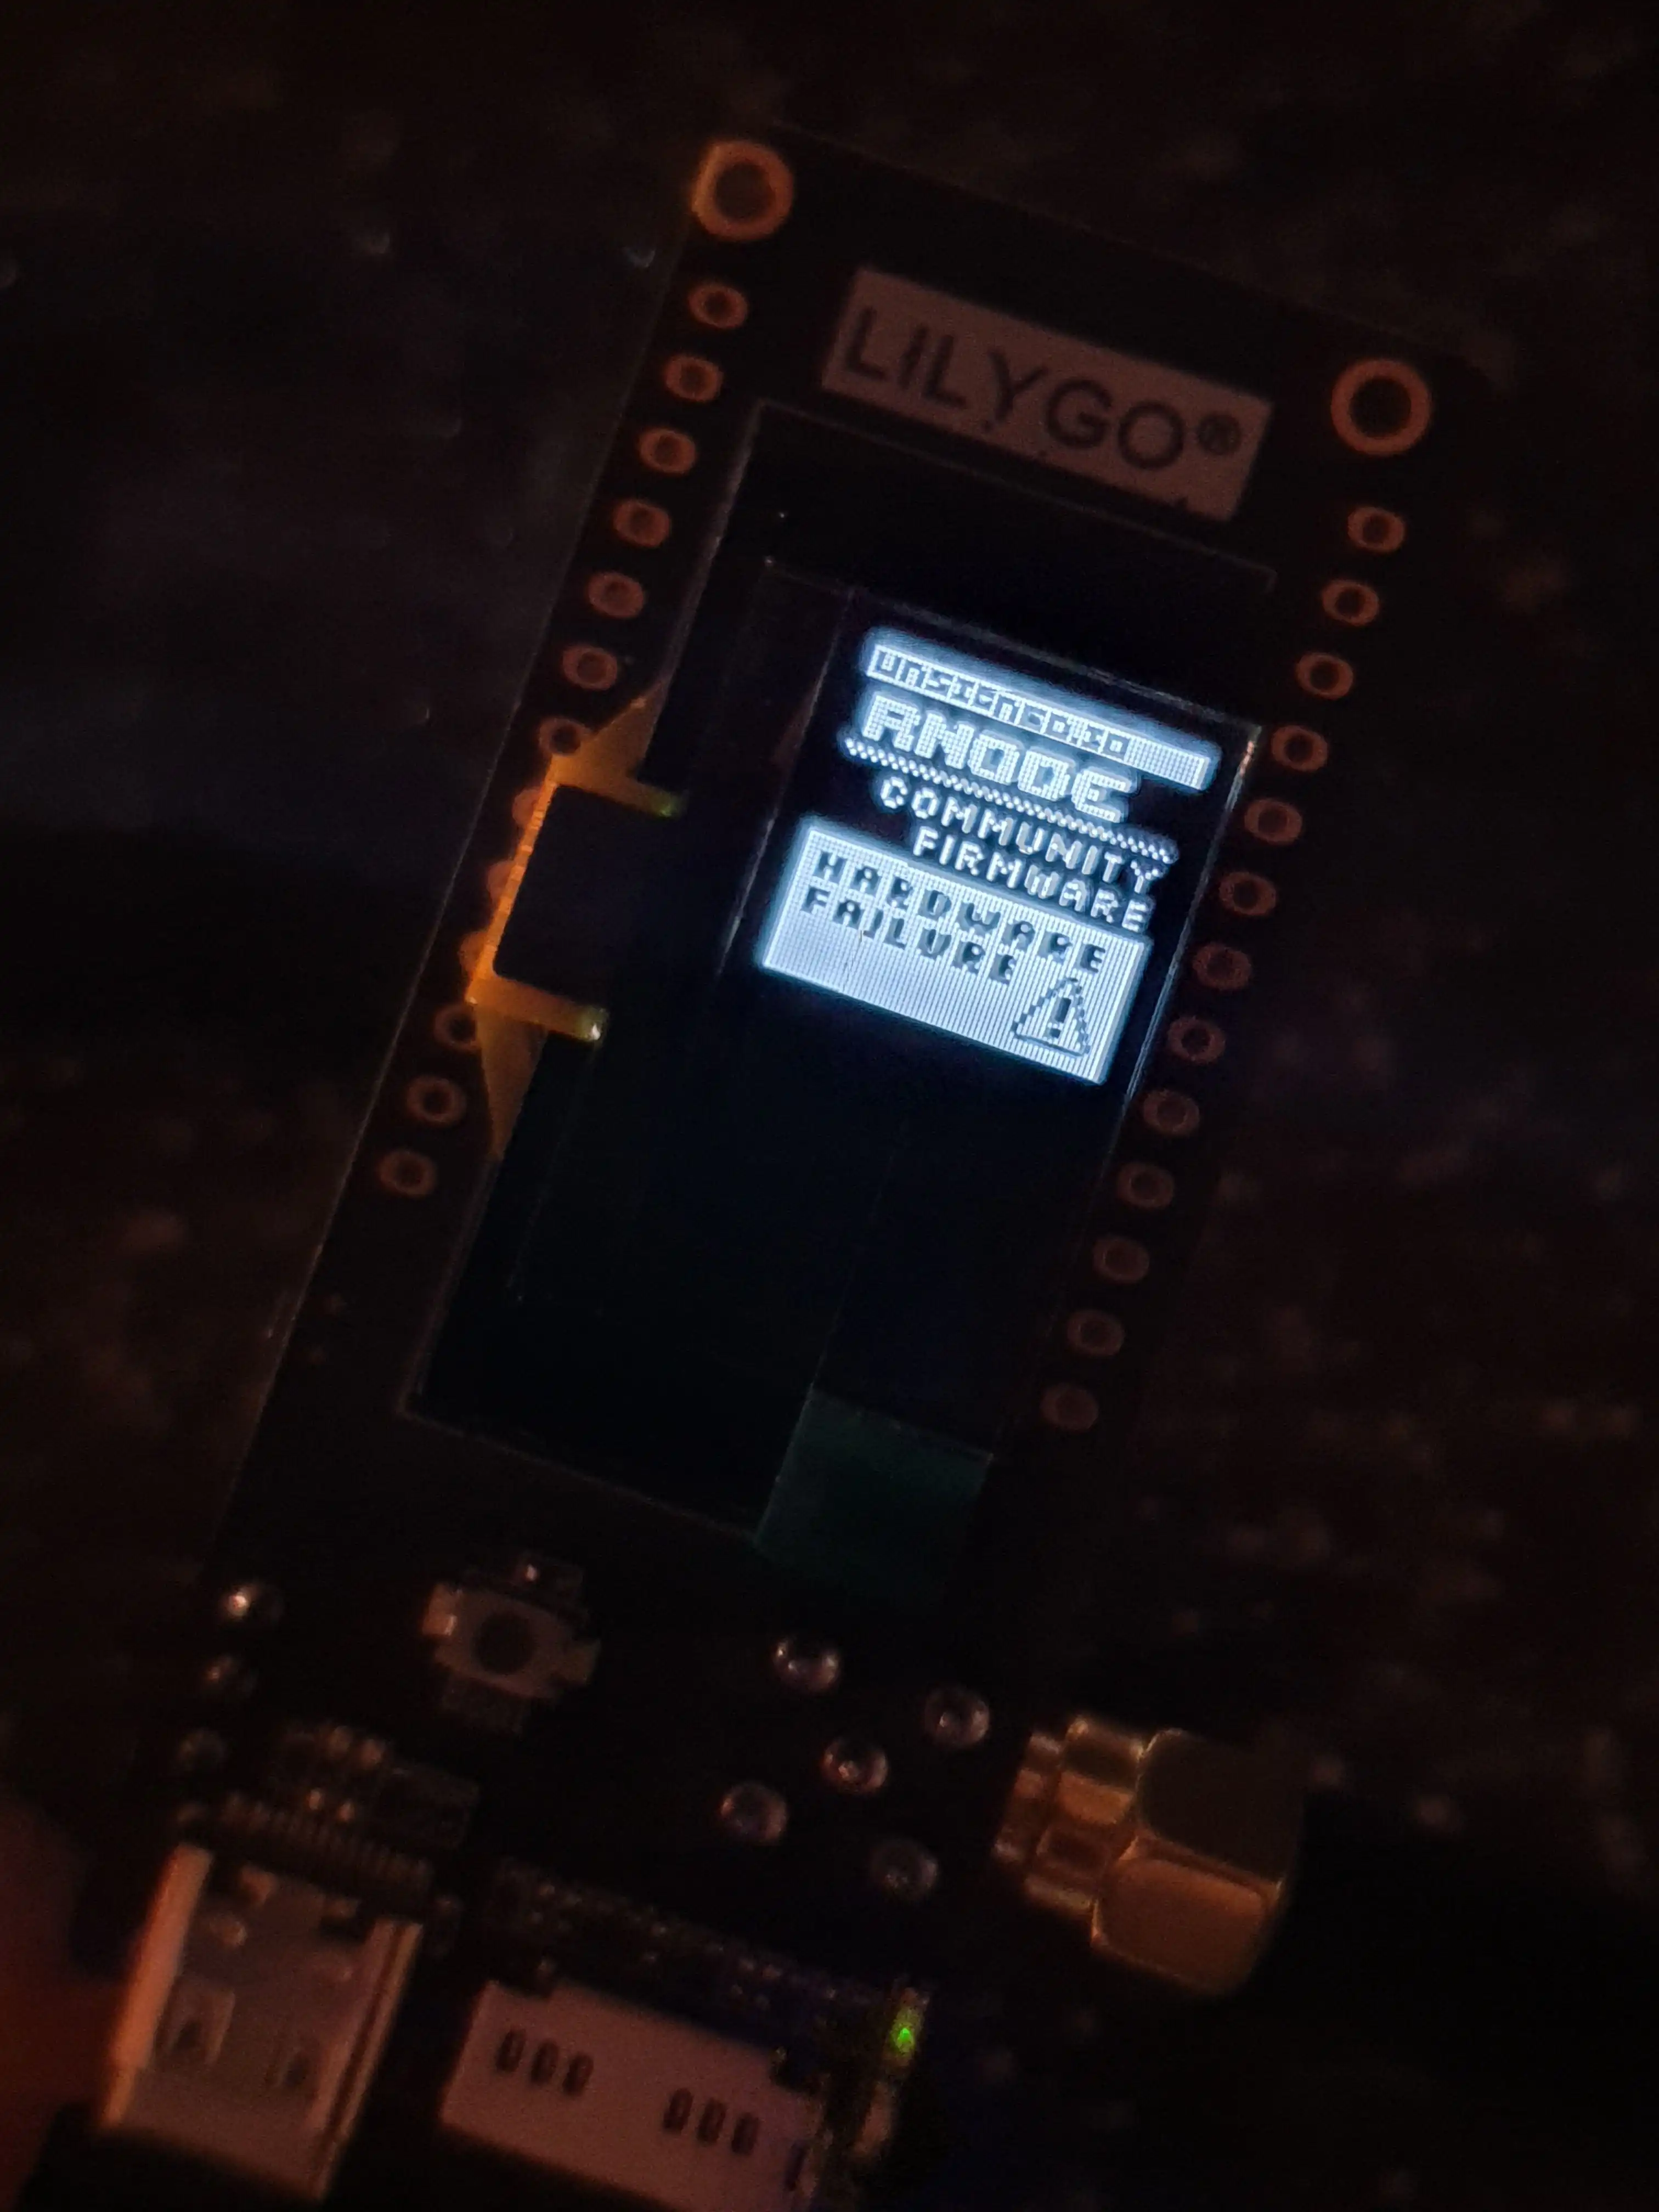
RNode showing hardware failure message
To fix this we first completely wipe the data that says
what model the firmware is expecting and replace it with
what it should expect (our model details); hence getting
rid of the mismatch of models. Before we begin you must
hit the Reset button:

Location of reset button
Now we can run the command:
rnodeconf --eeprom-wipe /dev/ttyACM1 # Wipe old settings
rnodeconf -r --model aa --product f0 --hwrev 1 /dev/ttyACM1 # Set the CORRECT model information
Now we will have another error, this one occurs because
the firmware has a hash digest generated for it and then
one stored in memory as well. If the hash(firmware_current) != hash(firmware_expected)
then a UI warning appears:

Corrupt firmware warning
This can be fixed by obtaining the hash of our current firmware and then overwriting the expected hash value parameter; therefore making them match and making that UI error disappear. First let’s get the current hash with:
rnodeconf /dev/ttyACM1 -L
Now set the hash from the previous command’s output with:
rnodeconf /dev/ttyACM1 -H <hash>
Afterwards we shall see that the warning disappears and we should be left with a screen that appears as follows:
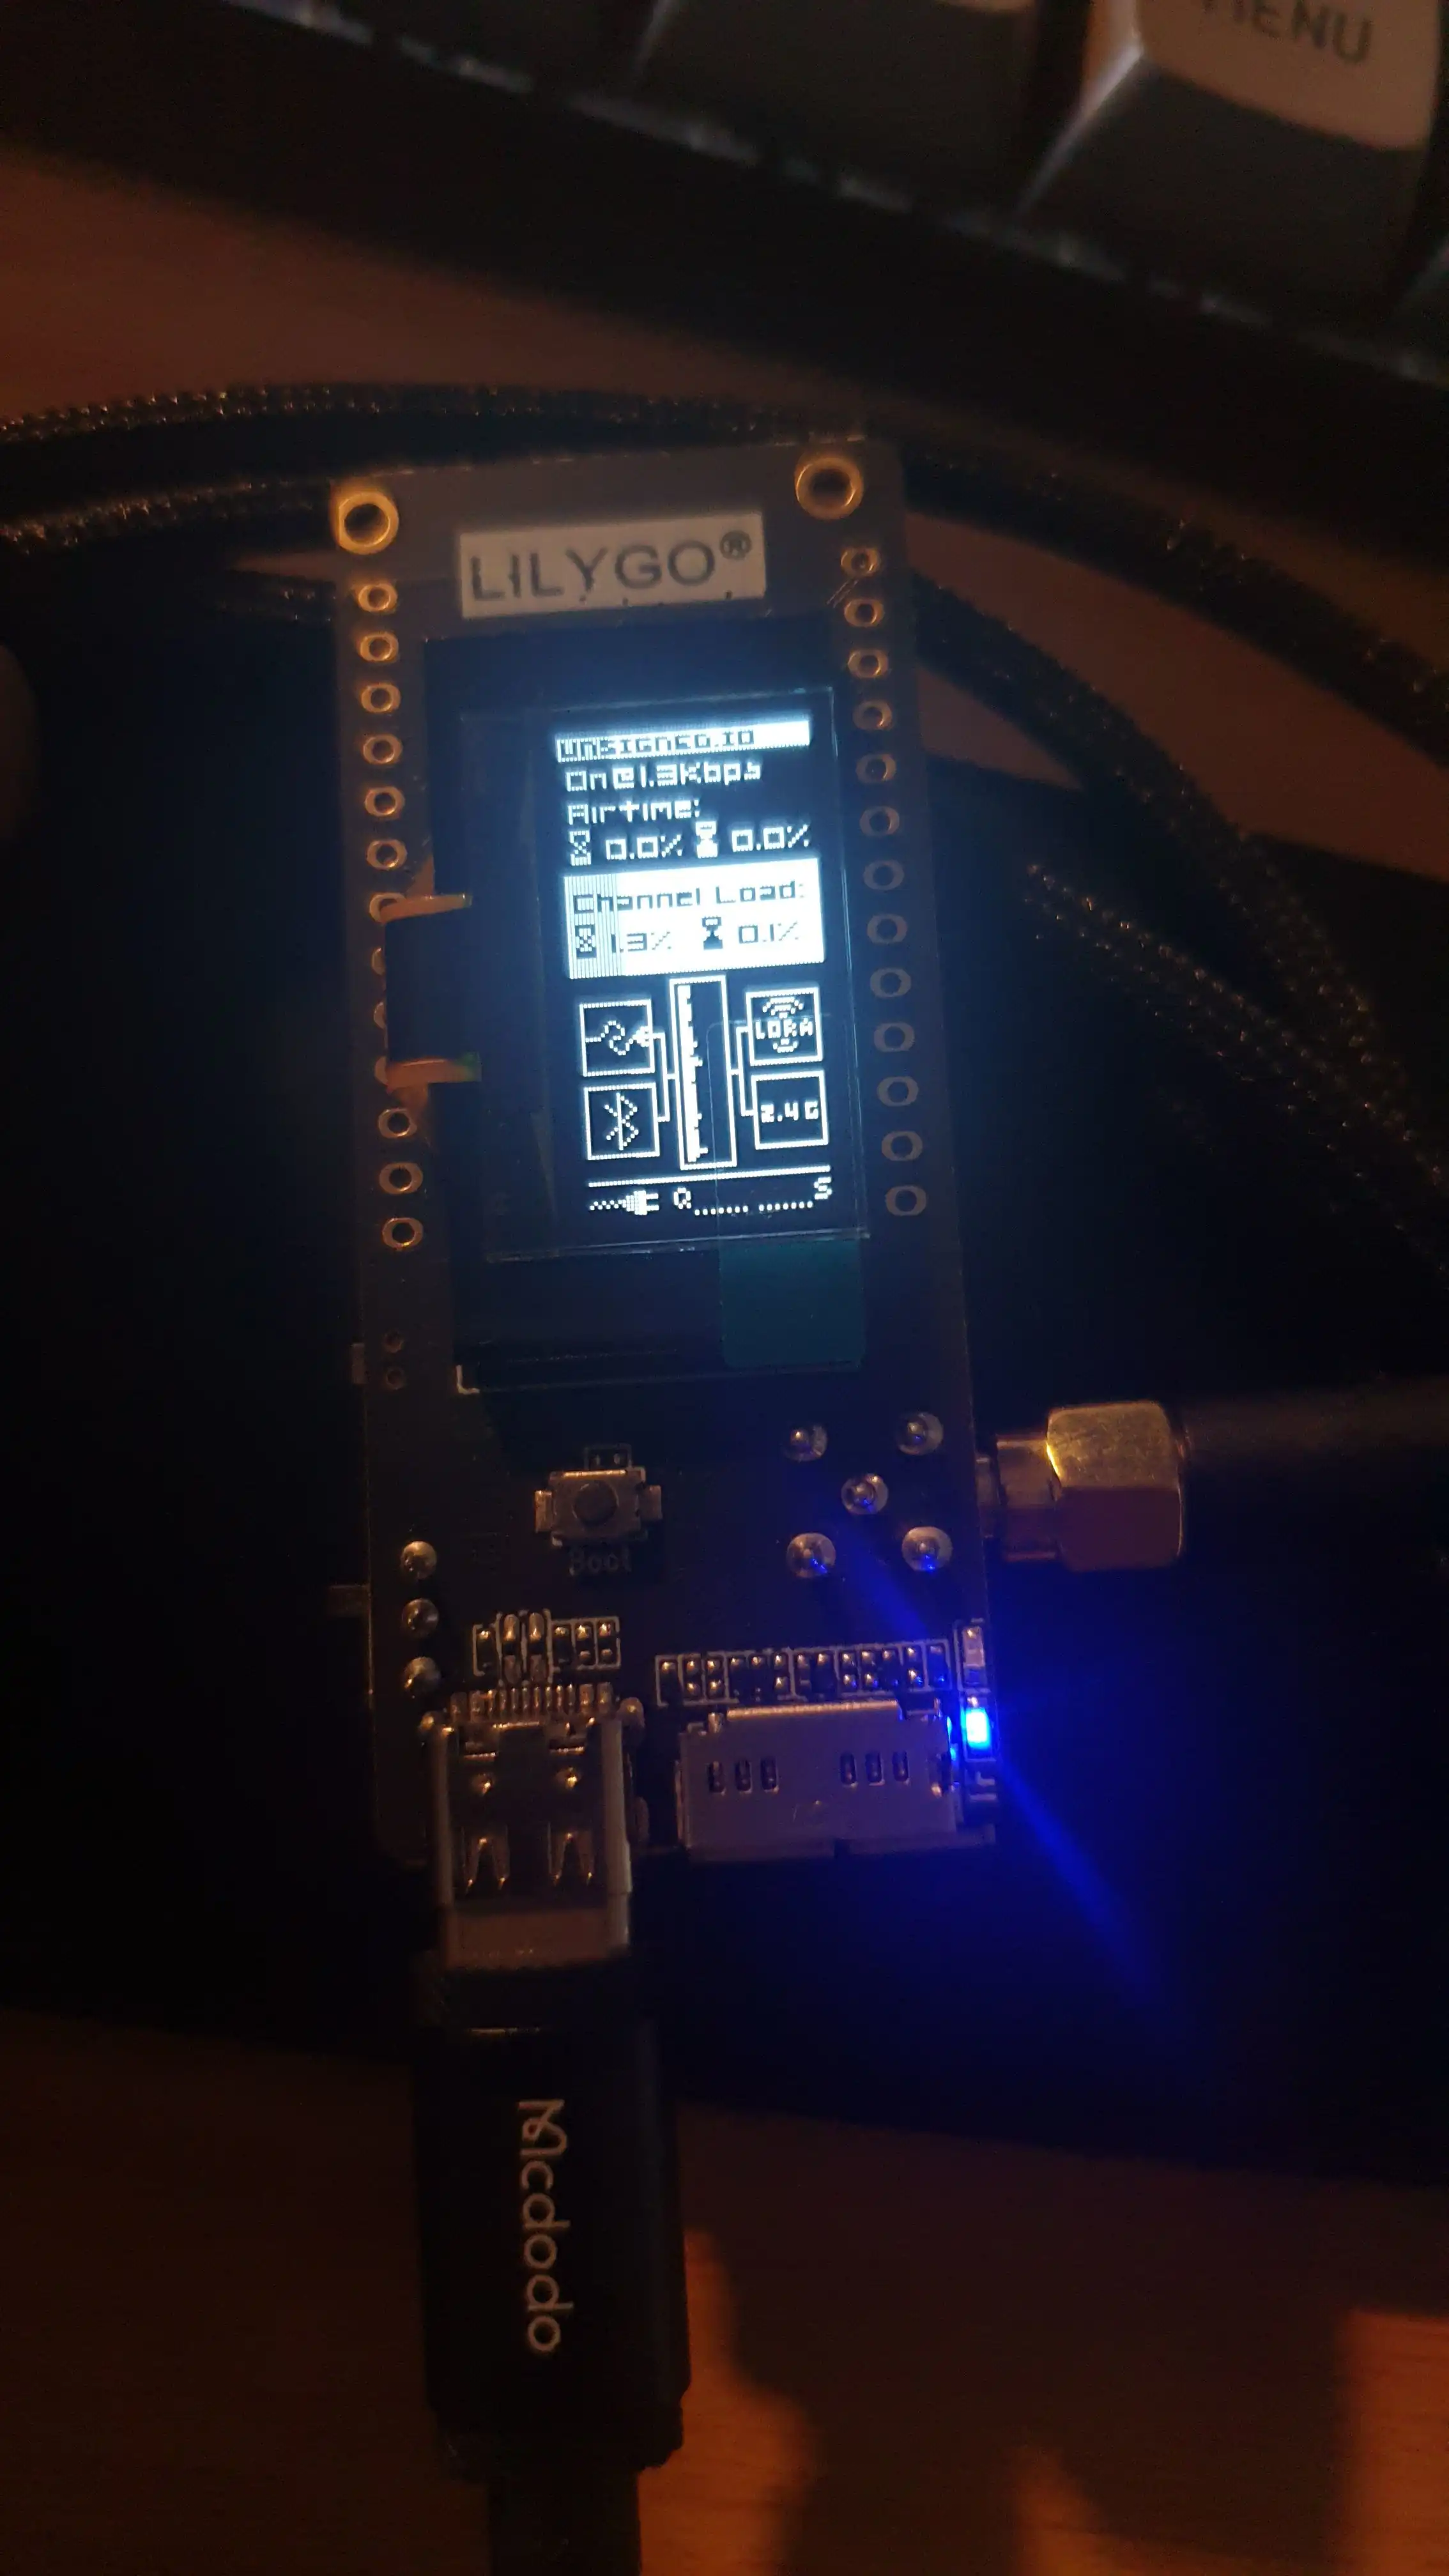
After fixing firmware hash check
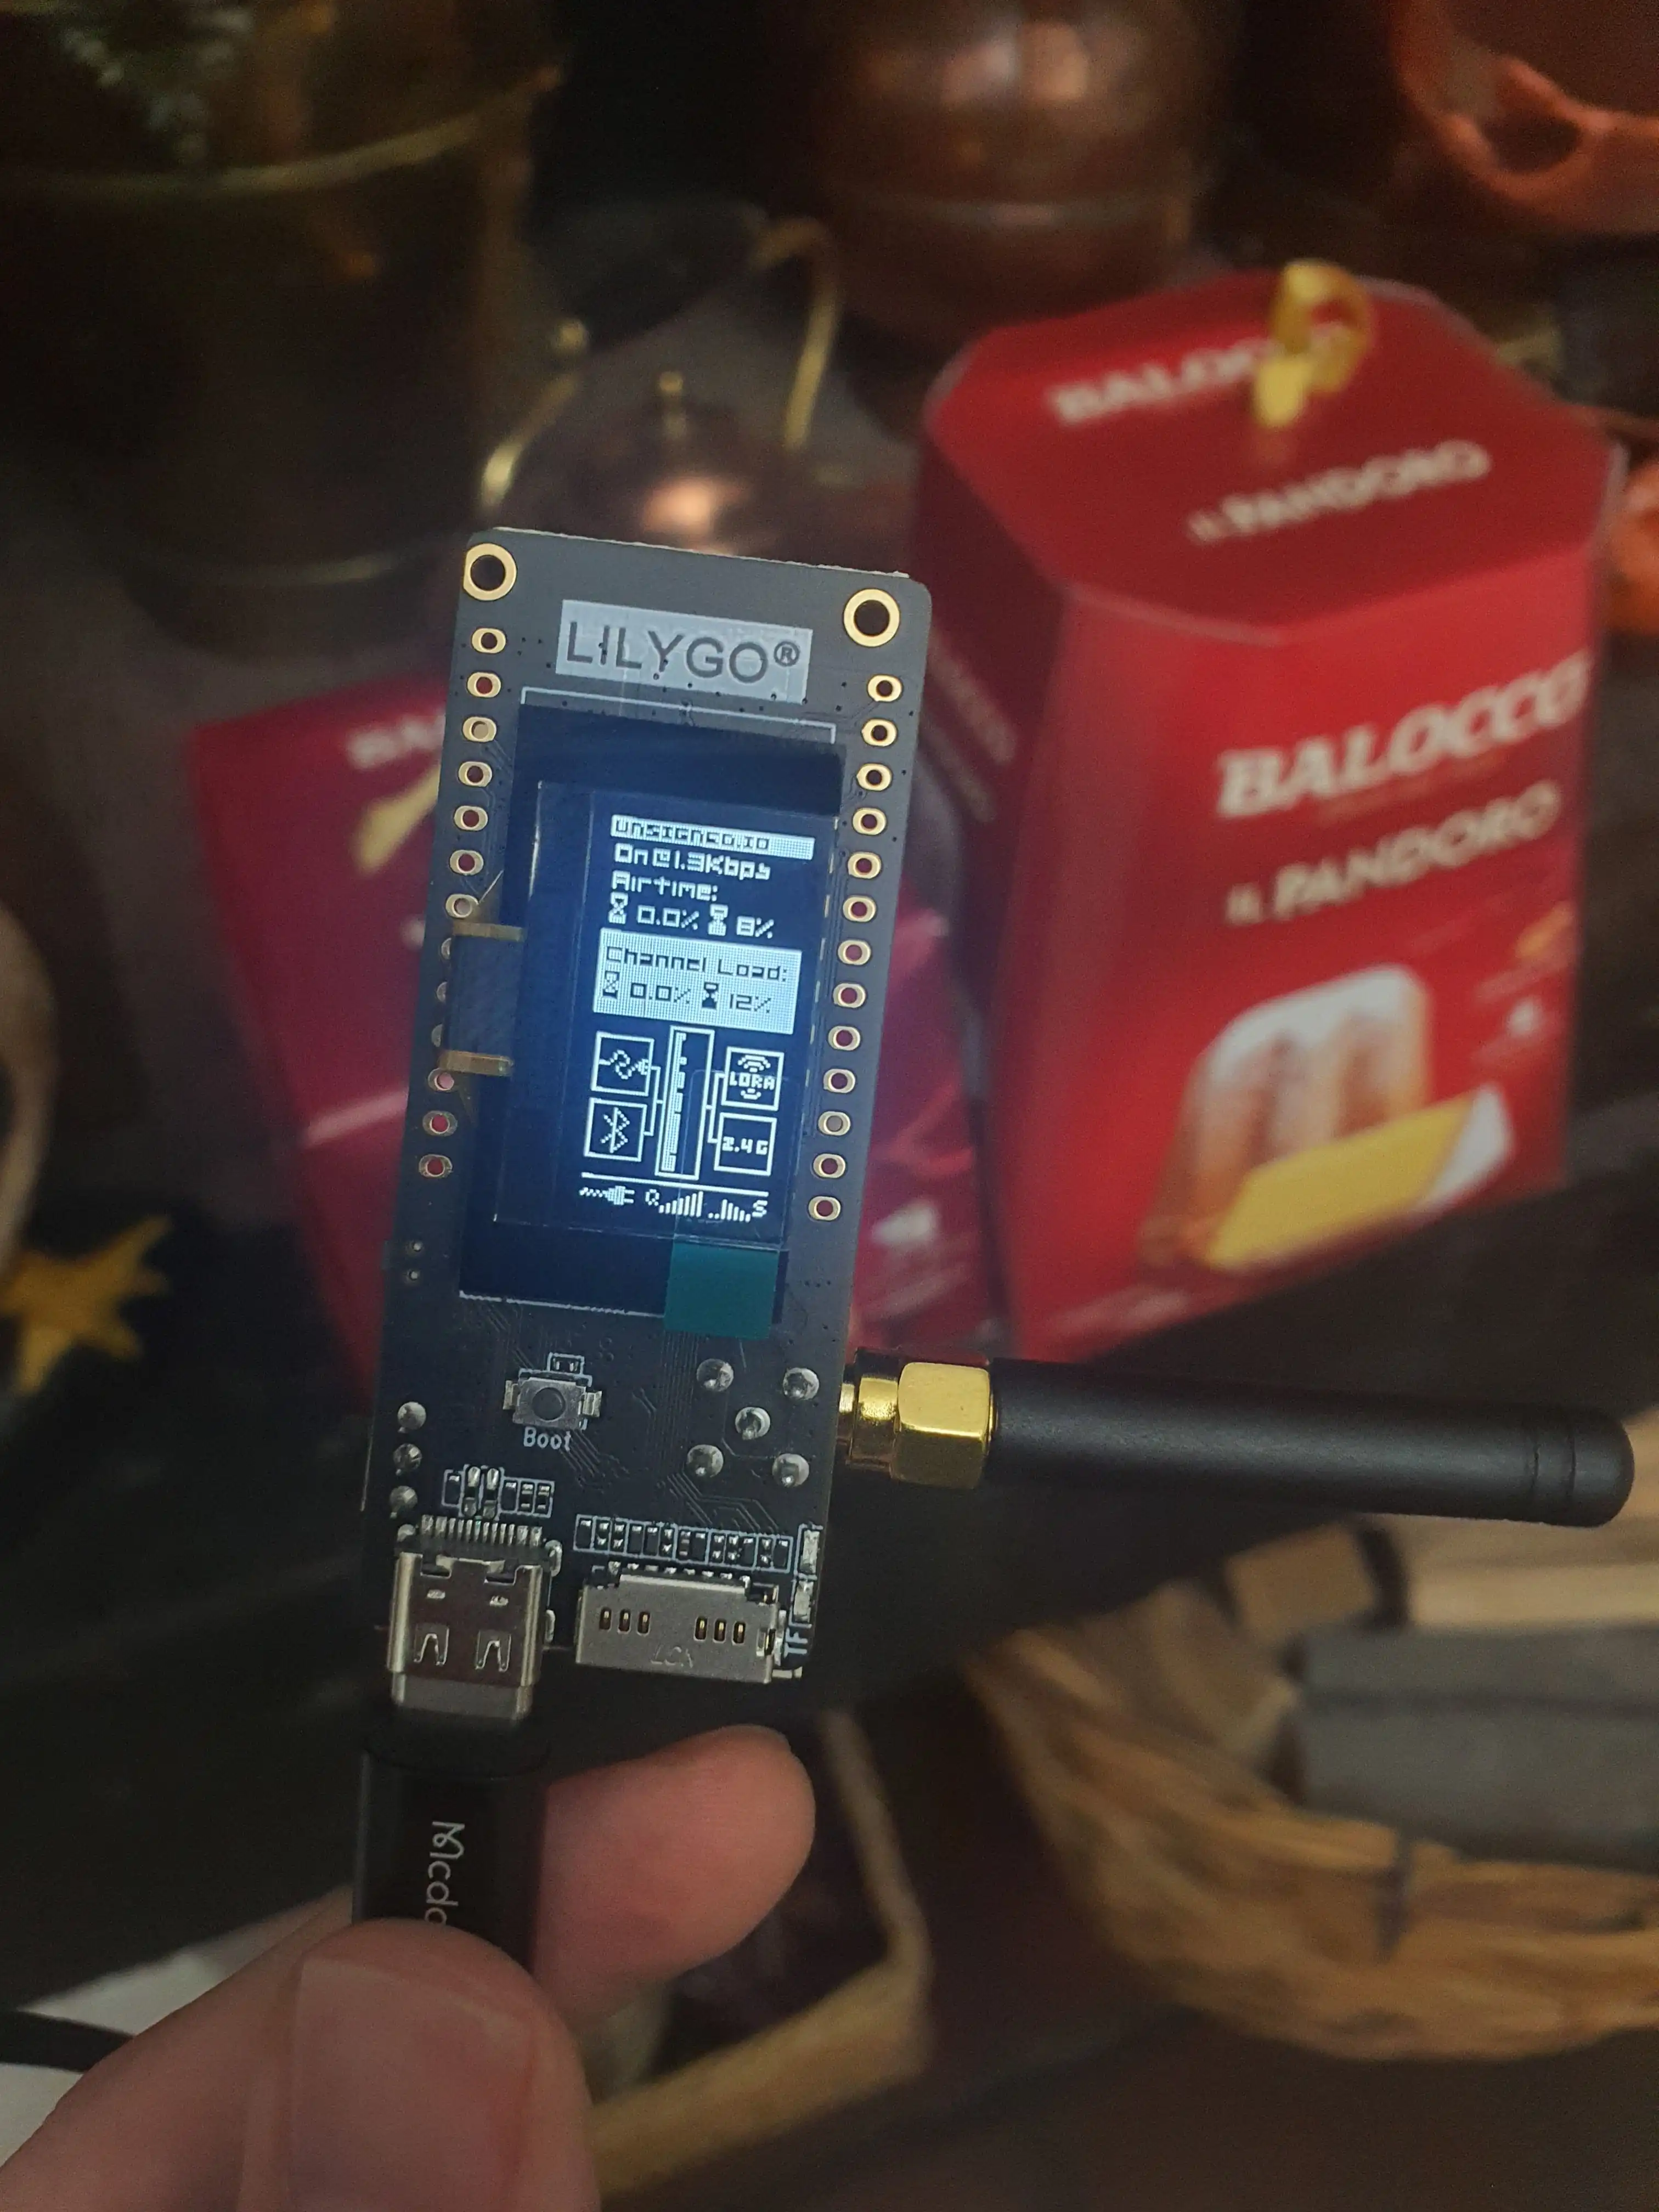
The final result